LENSMAP
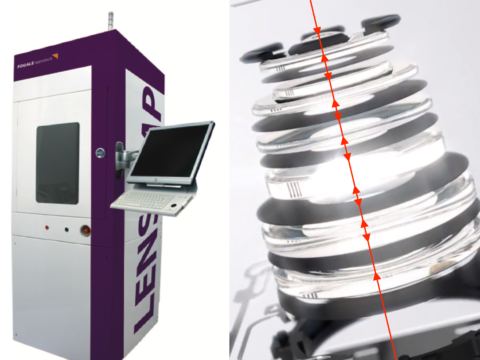

Automated quality control for lens, lens assembly, and wafer-level optics
- thickness & airgap measurement in 1-shot
- high accuracy < 0.1 micron
- high throughput > 800 /h
- handling of production trays

Main features
LENSMAP is an automated quality control solution for lens, lens assembly, micro lens array and wafer level optics. It provides thickness and airgap measurement with unique precision and speed and is used in volume production by major camera lens makers.
LENSMAP handles production batches i.e. trays of lens or assemblies and lens wafers, and provides automated metrology on all layers within each sample within the batch, with classification and report of lens status and defect type, according to pass/fail criteria set within customisable recipes.
Key benefits
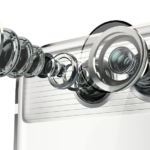
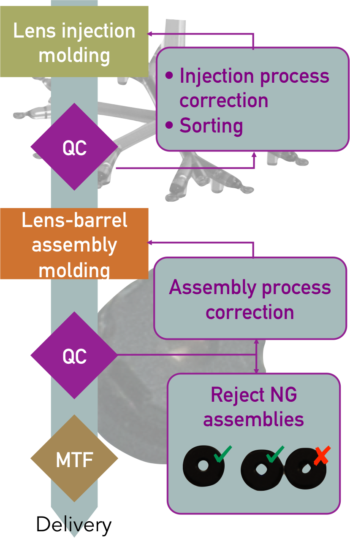
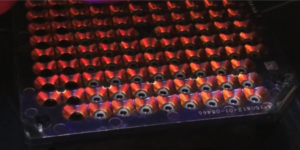
- Lens assembly: LENSMAP makes possible the quality control of the lens assembly before or after MTF end-of-line tests. This allows to improve the manufacturing yield by detecting and identifying quality issues within the assembly, thus allowing quick correction of the process. It measures airgap, thickness of all layers within the assembly and can also detect alignment and tilt issues.
- LENSMAP allows sub-micron accuracy metrology that is necessary for mobile phone and other 12Mpix or higher definition camera applications.
- LENSMAP allows to control any part movement within the assembly after vibration tests for automotive applications.
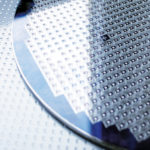
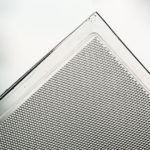
- Lens wafer: LENSMAP detects lens wafer manufacturing issues that may happen during etching, nano-imprint and bonding process. In particular, it can detect abnormal spacing between lens layers, abnormal thickness of glue layer or any other layer, as well as parallelism, bow and wrap issues that may happen at wafer level.
- Single lens: LENSMAP allows to provide much higher sampling rate and much better measurement reproducibility compared to conventional thickness gauges. For glass lenses, LENSMAP can provide full control of the production for efficient thickness sorting within the required manufacturing tolerance.
- Lens barrel: LENSMAP can control the step heights inside the barrel and the flatness of interface planes within the barrel.
- Camera module: LENSMAP can control the BFL, EFL and TTL of the module assembly.

- Maximum number of stacked lenses: 10 (expandable)
- Thickness accuracy: 0.07 microns
- Thickness/gap repeatability (3 sigma): <0.2 microns
- Thickness/gap reproducibility (3 sigma): <0.5 microns
- Minimum airgap: 30 microns
- Scanning range: 5mm (optical path)
- Measurement time: < 1 sec
- Throughput (with spot centering): < 4 sec per assembly
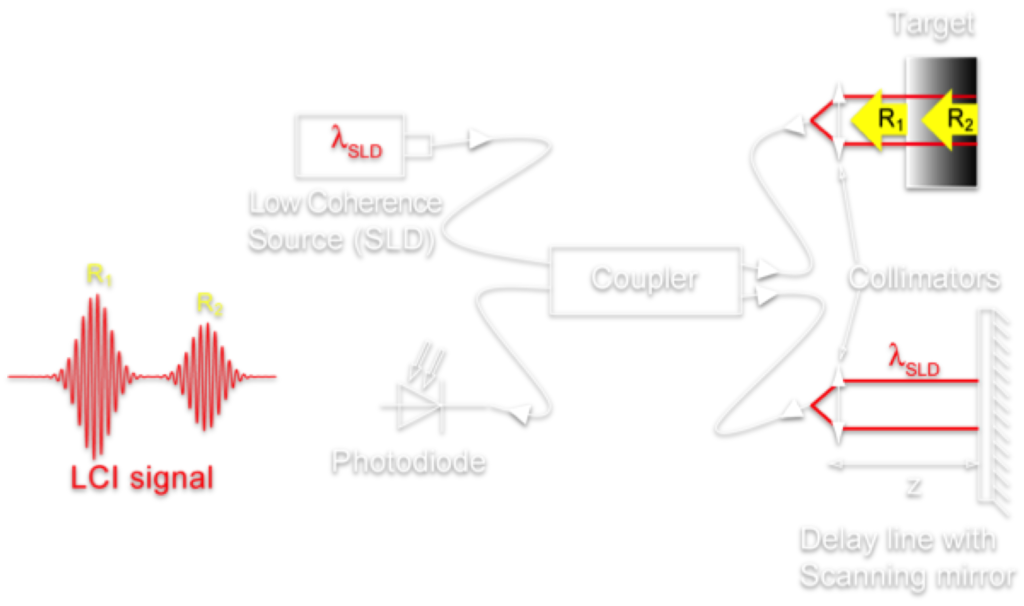
LENSMAP is based on LISE Infrared interferometry technology used for the control of very high precision optical systems. It ensures measurement of all optical interfaces within the assembly in one shot.
LENSMAP uses a patented optical head design allowing ultra-high precision center thickness and position measurement within the lens assembly.
Baseline:
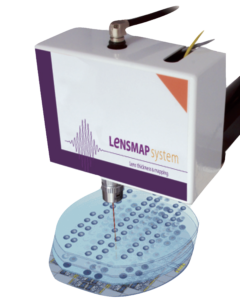
- LENSMAP main tool, including motorised X/Y stage, motorised Z-axis, LISE ED controller, measurement head, motorized turret with selectable magnification lenses
- in-situ metrology process control with embedded reference standards
- chuck to handle the samples or trays
- software with alignment and measurement recipe creation and setting wizard, pattern recognition feature, measurement, statistical process control and reporting
Options:
- LENSMAP dual: dual measurement head – top + bottom measurement
- LENSMAP HR: measurement of airgaps down to 20 micron (on-request)
- customised chuck: for specific handler (on request)
- magnification lens: up to 4 magnification lenses can be mounted
- additional metrology and inspection features (on-request): IR camera, White Light Interferometer, Confocal chromatic, …)
