LENSCAN
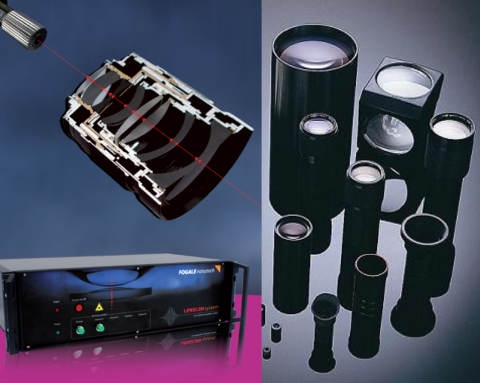

Thickness and airgap measurement system for lens, lens assembly, glass and optical components
- 1-shot multiple layer measurement for thickness and airgap
- easy integration and use within customer environment
- very high accuracy down to 0.15 micron
- adjustable working ranges and collimators to fit all needs



Main features
LENSCAN system allows direct measurement of the position and the center thickness of all optical elements (lenses, cubes, flats…) within an assembly along the optical axis.
It is used by major optical device makers at all steps of the design and manufacturing process, offering large benefits in terms of time savings and quality assessment
LENSCAN can be integrated into metrology stations for either R&D or manufacturing quality control and can be customised for a wide range of applications:
- Measurement accuracy from 0.15 to 1.0 micron
- Measurement range from 5mm to 600mm
- Measurement head collimator with variable spot size and numerical apertures
- Customisable recipe settings and reporting from LENSCAN software
Key benefits
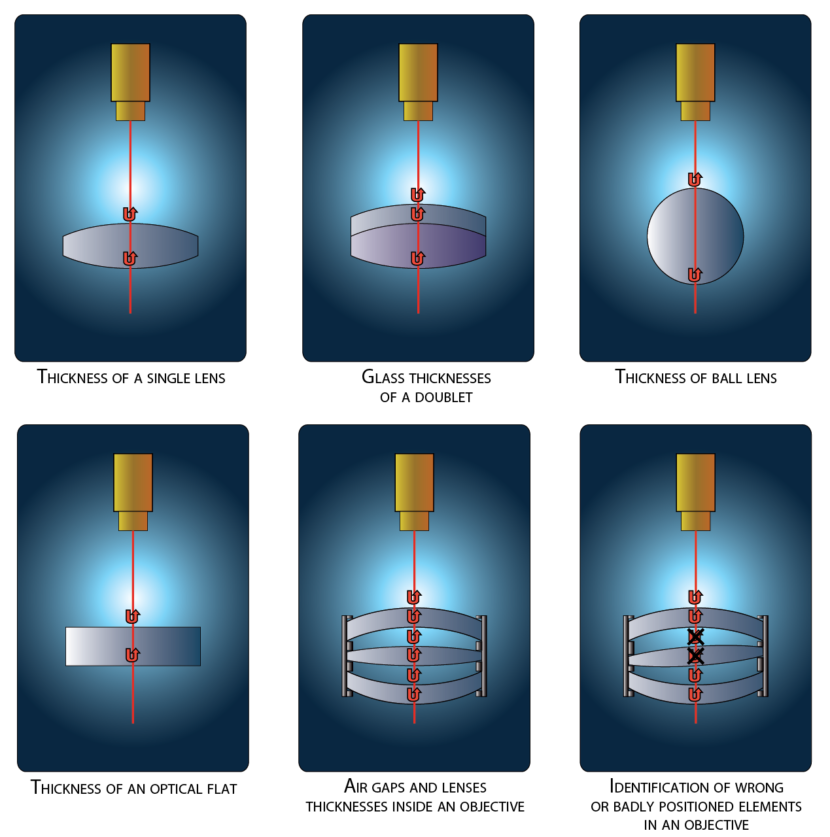
- Lens assembly: LENSCAN controls the center airgap between lens within a lens assembly. It allows to identify quality issues within the assembly, thus allowing quick correction of the process. It measures airgap, thickness of all layers within the assembly and can also detect alignment and tilt issues.
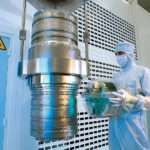
- Lens-centering and assembly process integration: LENSCAN can be mounted into a lens-centering and mounting station to allow airgap and thickness control during the assembly process. Those integrated systems are used by major lithography and camera lens makers as a standard metrology solution, thanks to LENSCAN high measurement accuracy guaranteed within the whole measurement range.
- Laminated glass: LENSCAN controls the glass and polymer layer thickness within laminated glass, allowing a very accurate control of thickness along the surface.
- Optical component: LENSCAN allows the control of single lens and complex optical components like prisms, doublets or others.
- Telescope: LENSCAN customised working range allows the control of any large optical system with excellent measurement accuracy.
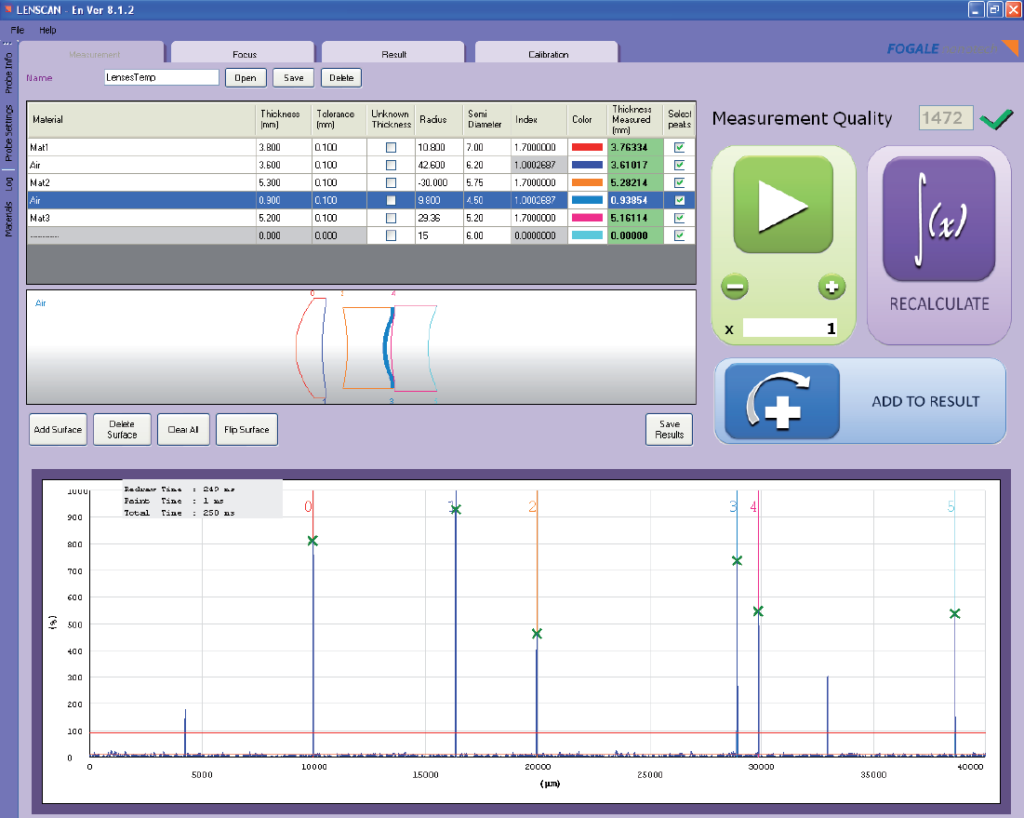
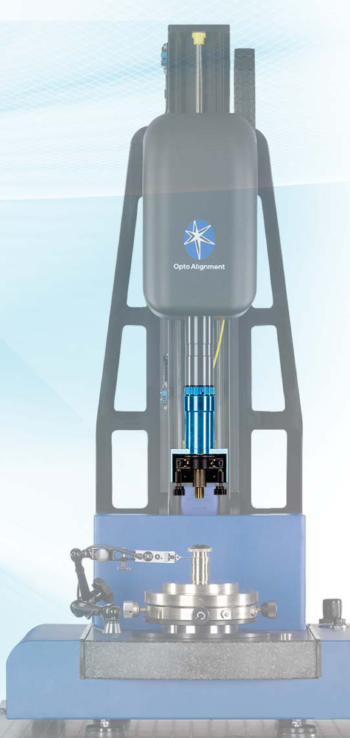

LENSCAN software features:
- Sample set-up and definition, with extensive list of known optical materials
- Automatic pattern matching
- Accuracy/repeatability testing
- Statistics on measurement batch
- Monitoring of environment conditions to ensure accurate optical index computation for internal delay line
- Specific linearity calibration procedure with high accuracy thickness standard, tested over the whole system range
- Optimal focus setting wizard for motorized collimator (option)
- Load/Save predefined measurement recipes with tolerances
- Single button recipe control
- GO / NO GO validation indicator
- Output PDF and text report files
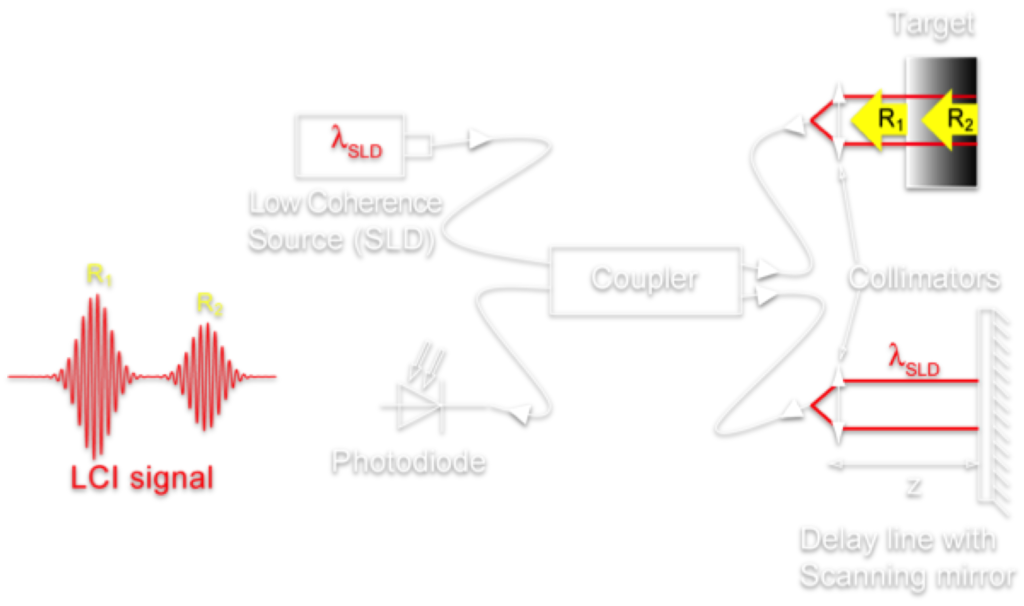
LENSCAN is based on LISE infrared interferometry sensor used by leading customers for the control of very high precision optical systems. It ensures measurement of all optical interfaces within the assembly in one shot.
High stability mechanics, specific calibration procedure, usage of internal thermal probe and precise index computation enable high accuracy of the system within the working range.
Baseline configuration:
- LENSCAN controller (LS40, LS200, LS/LI600 or customized model)
- a separated delay line (for long working range models)
- an optical fibre and a collimator, to be selected within a range of models for different angular acceptance and working distance (see below)
- LENSCAN software and a PC

- multiple channels (up to 4)
- DLL library, for integration into 3rd party software
- X/Y table with tip/tilt controlled collimator mount.
